Get Started On Your Fence Project | Call Today for a FREE Estimate
How Deep To Dig Fence Post Holes
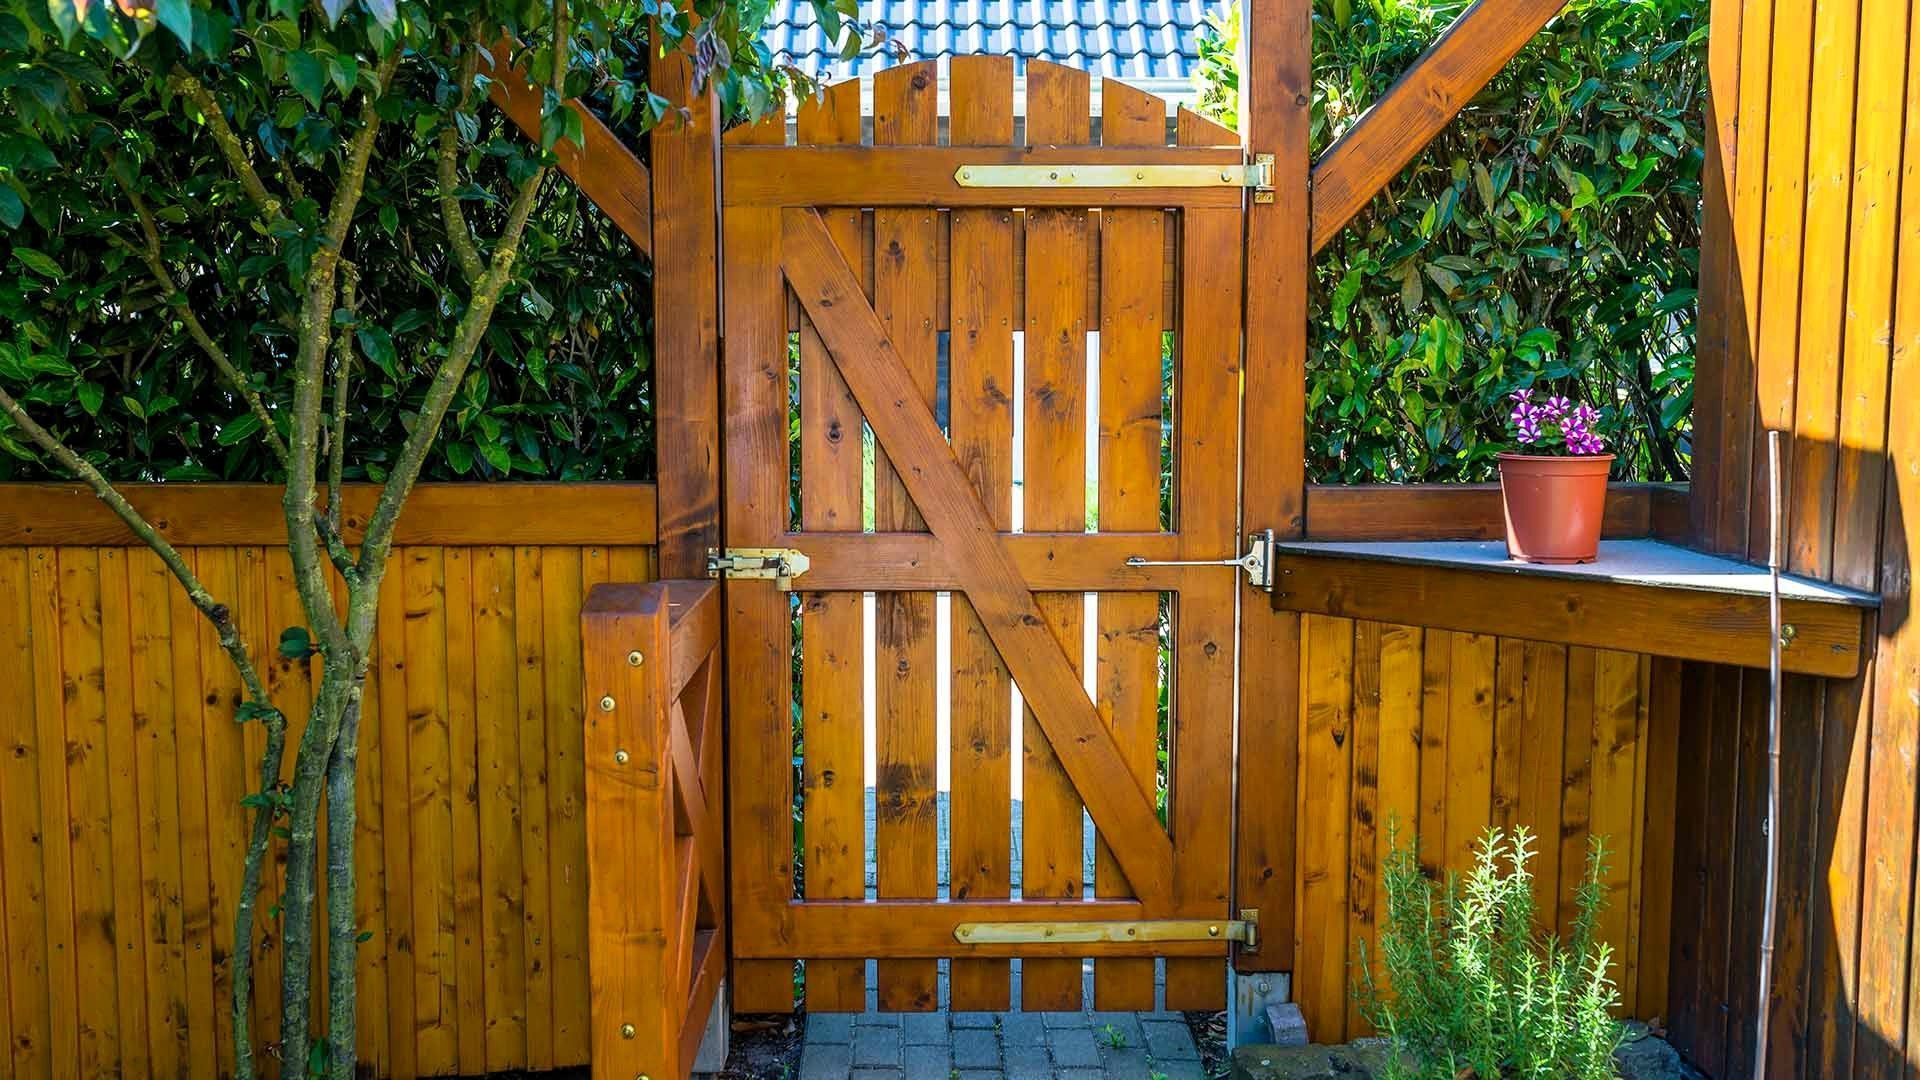
Ah, the sagging wooden fence gate, the bane of homeowners everywhere! It's not just a minor inconvenience, but a real pain when you're trying to haul in groceries or let the dog out. Before you lose your cool, take heart. This article will be your go-to guide to tackle that sagging fence gate and reclaim your backyard bliss.
Struggling with a sagging wooden fence gate? No worries! This guide will walk you through the essential steps, strengthening the post, squaring the gate, and adding robust hardware, to make your fence gate as good as new, all in just about four hours with simple tools.
Learn the essential depths for fence post holes to guarantee a durable and stable fence, accommodating various soil types, climates, and fence heights.
Understanding the Basics of Fence Post Depth
The correct depth of your fence post holes is not just a matter of digging; it's about ensuring the longevity and stability of your fence. A widely accepted rule in fence construction is that the depth of the post hole should be at least one-third to one-half the total height of the post above ground. For instance, a 6-foot tall fence post, typically used for residential fences, would require a hole that’s 2 to 3 feet deep. However, this is just a starting point. The size of the posts plays a significant role too. Larger posts, like those used for more substantial fencing, require deeper holes to compensate for the increased weight and surface area. This ensures that the fence can withstand various stresses, such as wind and soil shifting.
Assess the Problem: Don't Just Wing It!
First, take a careful look at your gate and its supporting posts. Identify whether both are misaligned or if one is the primary issue. Proper assessment can save you time, effort, and frustration.
Required Tools and Materials: Get Your Gear in Order
Equip yourself properly for the task with the following tools and materials:
- Impact driver or screw gun: Essential for driving screws efficiently.
- Shovel or post hole digger: Sometimes, a deeper fix is required.
- Level: Ensures everything is perfectly aligned.
- Tape measure: For precise measurements.
- Expanding foam or packed pea stone: Ideal for stabilizing posts.
- Wood corner supports: Made from pressure-treated lumber to reinforce your gate.
Expect to spend between $50 and $150 for these materials.
Pre-Installation Steps
Securing Permits
Check with your local building authorities to secure any necessary permits. These are often required for fences over certain heights and cost between $20 to $60.
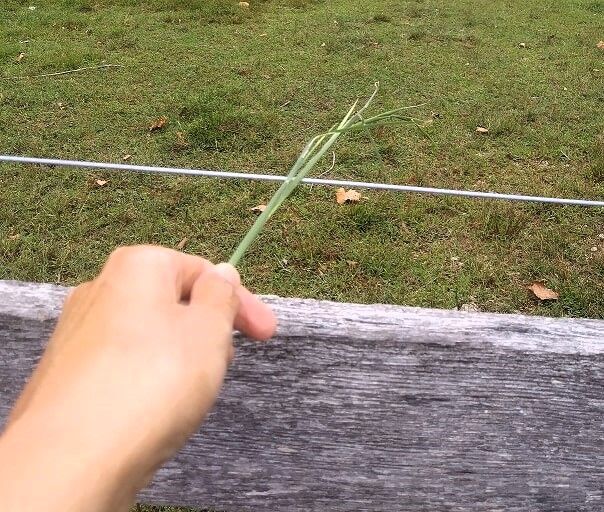
Planning Your Fence
Mark the boundary of where your fence will be installed using stakes and string. This helps in purchasing the correct amount of materials and ensures your installation is precise.
Safety Measures
Before digging, it’s crucial to identify where utility lines are located. Contact your local utility company or dial 811 to have these lines marked, avoiding costly and dangerous mistakes.
Installation Process
Setting the Posts
Begin by marking your fence layout with string tied around stakes, then proceed to dig the post holes. Each hole should be deep enough to bury one-third of the fence post plus an additional six inches for drainage gravel. Place the post in the center of the hole, add gravel for drainage, and use a level to ensure it's vertical. Fill the hole with your chosen setting material, such as quick-set concrete or expandable foam, and allow it to cure according to the manufacturer's instructions.
Assembling the Frame
Once your posts are set, it's time to add horizontal support beams. Attach pressure-treated wood boards across the posts at three levels: bottom, middle, and top. Ensure each board is level before securing with screws. This frame will support the weight of the corrugated metal panels.
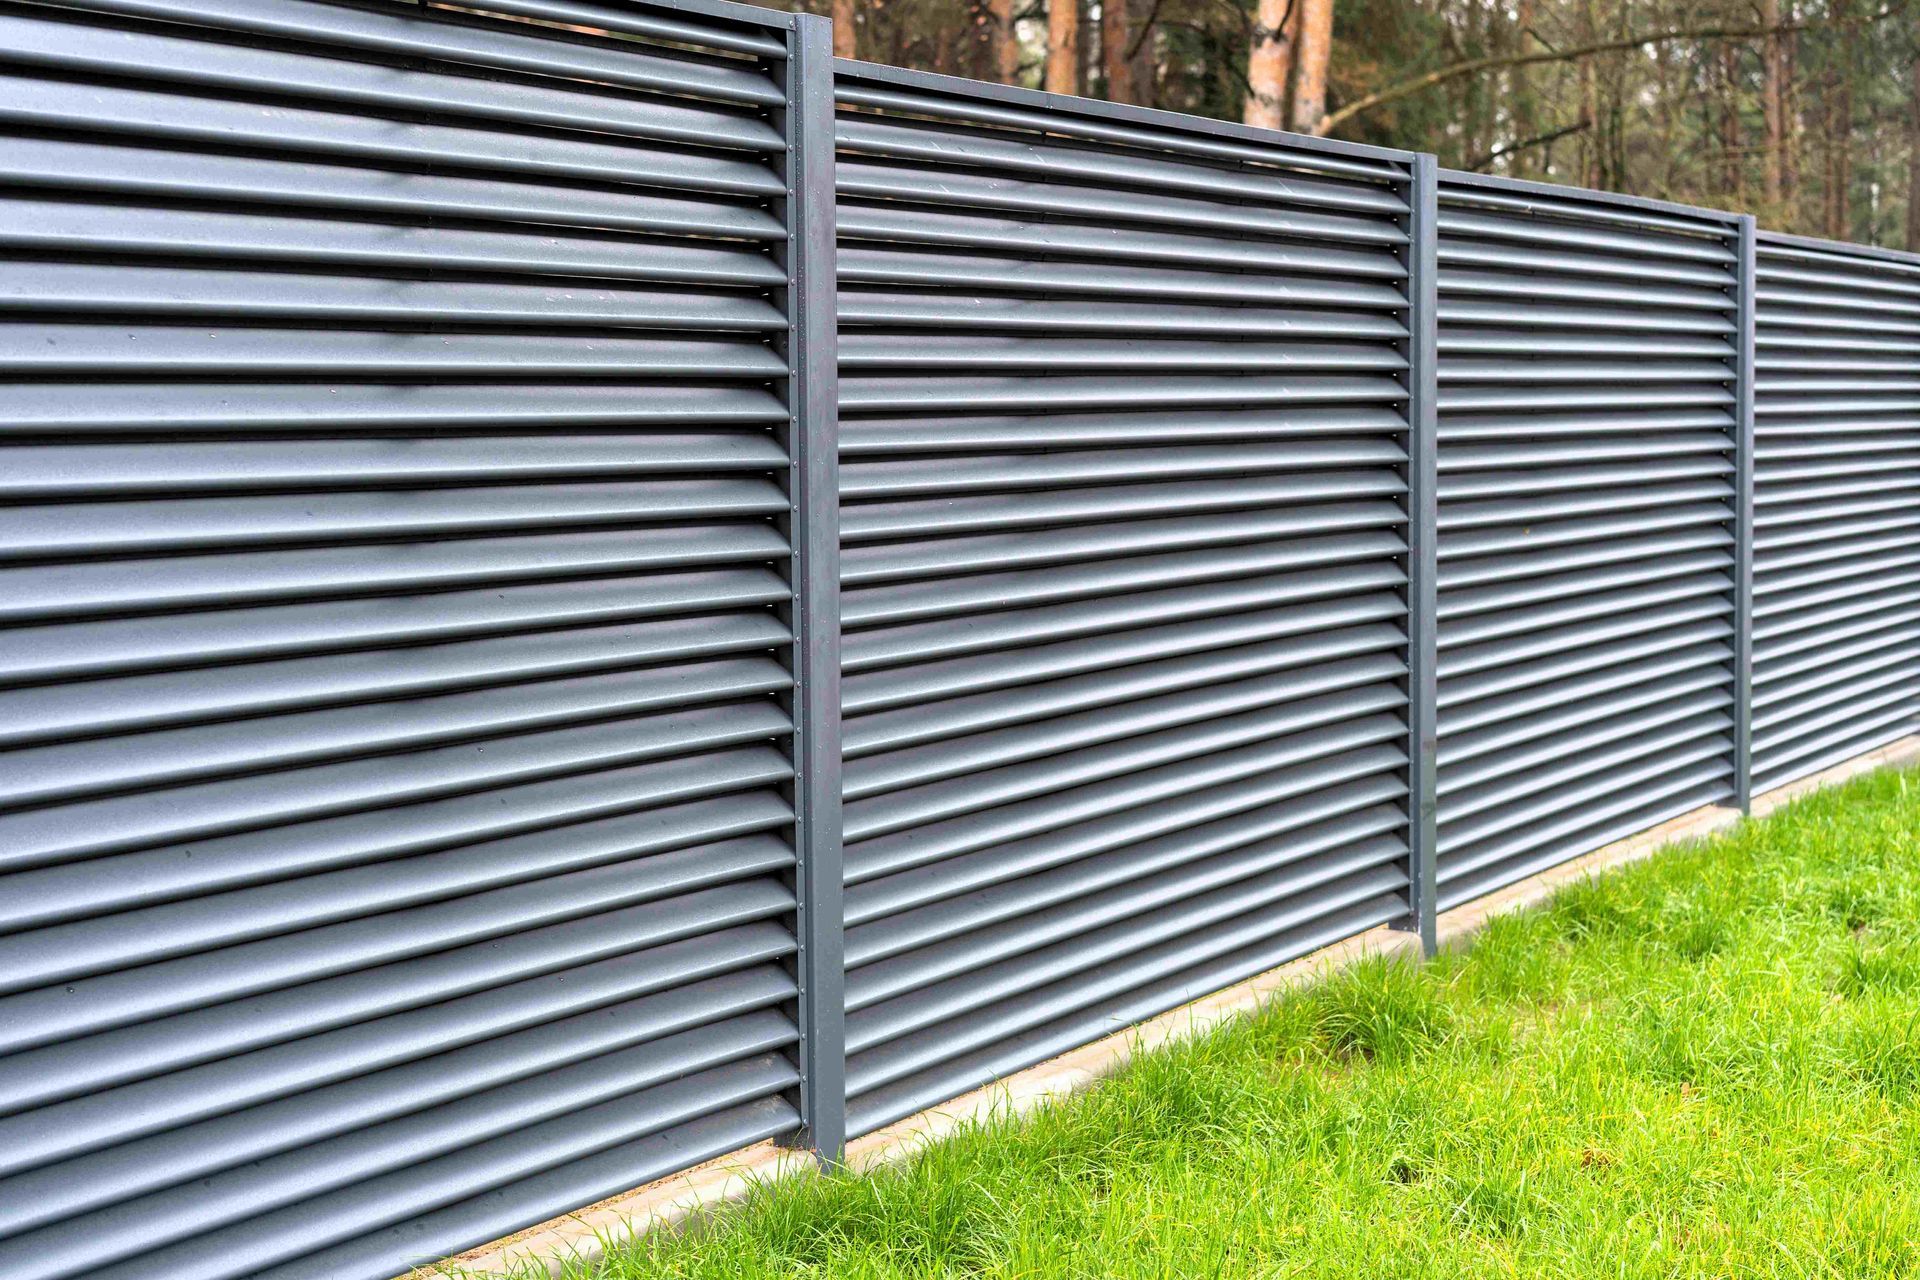
Attaching the Panels
If you’ve chosen to predrill your corrugated metal panels, lay them out and drill holes every six inches along the edges. With a friend’s help, align the panels on the frame and secure them using flat-head exterior screws through the predrilled holes. Choose the panel orientation—vertical or horizontal—that best fits the aesthetic of your property.
Post-Installation Care
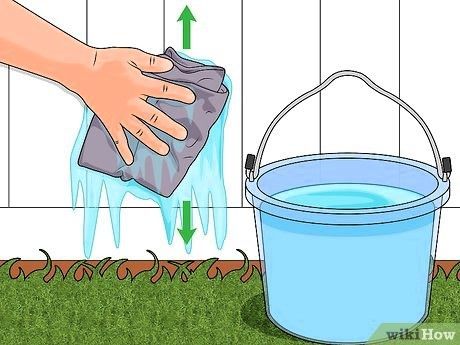
Inspect the installation for any irregularities or adjustments needed. Clean up the work area and dispose of any excess materials properly. Regular maintenance includes checking the fence for stability and damage, especially after extreme weather conditions, and cleaning it with a mild soap solution annually.
DIY vs. Professional Installation
While DIY installation can save costs and provide a satisfying project, it requires time, effort, and some level of skill. Professional installation costs more but ensures the fence is built quickly and correctly, freeing you from heavy lifting and technical tasks.
Final Adjustments
1. Attach and Tighten the Steel Cable
Thread the steel cable through the turnbuckle and the designated brace. Use cable clamps to secure the cable at both ends tightly.
2. Adjust the Turnbuckle
Tighten the turnbuckle using the wrench to remove any sagging. Check the levelness of the gate with a bubble level. Open and close the gate to ensure it moves smoothly without dragging or sticking.
Preparing the Work Area: Make Room!
Clear the area of any obstructions like potted plants or garden tools. Don't forget to wear safety gear like gloves and goggles to protect yourself.
Fixing the Sagging Post: The Pillar of the Problem
A wobbly post is akin to a shaky foundation. Check for wood rot by poking the post with a screwdriver. If it feels solid, stabilize it with expanding foam, following the manufacturer's instructions to avoid mishaps.
Realigning the Gate: Get It Straight
If your post is secure, next ensure the gate itself is properly aligned. Remove the gate, lay it on a flat surface, and measure for squareness. Adjust with a pipe clamp or ratchet strap if necessary.
Installing New Hardware: Strengthen and Secure
With the gate squared, reinforce it with pressure-treated lumber corner supports, securing them with an impact driver. This not only adds stability but also extends the gate's lifespan.
Testing the Repairs: The Moment of Truth
Rehang the gate and test its operation by opening and closing it several times. If it swings smoothly, congratulate yourself on a job well done. If not, minor adjustments might be needed.
Factors Influencing Post Hole Depth
Determining the depth of your fence post holes is a multifaceted decision influenced by several critical factors. The soil type is paramount; sandy soils may require deeper holes due to their lower stability, while clay soils, which are more compact, might need less depth. Local weather conditions also play a crucial role. In areas with deep frost lines, posts must be set deeper to prevent upheaval during freeze-thaw cycles. Similarly, regions with high wind conditions demand deeper post holes for enhanced fence stability against strong winds. The overall weight and structural design of the fence itself also dictate the necessary depth, with heavier fences requiring more profound and sturdier support.
Practical Tips for Digging Post Holes
Effective digging of post holes begins with precise planning. Mark the locations for each post carefully, ensuring they align with your fence design. Utilizing tools like post hole diggers or augers can significantly aid in achieving the desired depth and width efficiently. As a guideline, the diameter of each hole should be about three times the width of the post.
This provides enough room for the post itself and the concrete that will surround it, ensuring a tight and stable fit. After the hole is dug, it's essential to check the depth and straightness with a level. This guarantees that the post will sit correctly in the hole, which is vital for the overall alignment and balance of the fence.
Installation Insights:
The installation phase is crucial in fence building. Setting the posts in concrete not only stabilizes them but also protects against elements such as moisture and pests. When placing the post in the hole, ensure it is perfectly vertical using a level. Then, pour the concrete around the post, adhering to the manufacturer's instructions regarding mixing and setting times. This process creates a firm foundation for each post, which is essential for the long-term durability and stability of the fence. The concrete should be allowed to set fully before any further construction or weight is added to the posts.
Avoiding Common Mistakes
One of the most common errors in fence installation is neglecting to account for the specific environmental and soil conditions of the area. This oversight can lead to insufficient post depth, resulting in a fence that's susceptible to shifting or toppling in adverse conditions. Another frequent mistake is not adhering to local building codes, which often provide specific guidelines on post depth and installation methods. These codes are designed to ensure safety and durability, considering local climate and soil conditions. Always consult local building codes and, if necessary, a professional, to confirm that your fence meets all the required standards and practices for your region.
Conclusion
Accurately digging post holes is a critical step in building a stable and durable fence. By understanding the key factors involved and following best practices, you can ensure that your fence will withstand the test of time and nature.
FAQ Section
Is 2 feet deep enough for fence posts?
While a 2-foot depth may be sufficient for smaller fences (5-6 feet tall), it's essential to consider soil type, climate, and fence design. In some cases, deeper holes may be necessary for added stability.
How deep should an 8-foot post be in the ground?
For an 8-foot post, a depth of about 2 feet is typically recommended. This depth can vary depending on soil conditions and the weight of the fence. Always adhere to local building codes for specific guidelines.
What diameter should a hole be for a 4x4 post?
For a standard 4x4 post, the hole should be approximately 12 inches in diameter. This width provides enough space for concrete and ensures the post has adequate support from the surrounding ground.
Can I use dry concrete in a post hole?
Yes, dry concrete can be used in post holes. It's a convenient method where the concrete is poured in dry and then water is added. However, ensure you follow the manufacturer's instructions for the best results.
How many bags of concrete are needed per fence post?
The number of concrete bags required per post depends on the hole size and post size. Generally, one or two 50-pound bags should suffice for a standard post hole.