Get Started On Your Fence Project | Call Today for a FREE Estimate
How To Paint A Chain Link Fence With A Roller
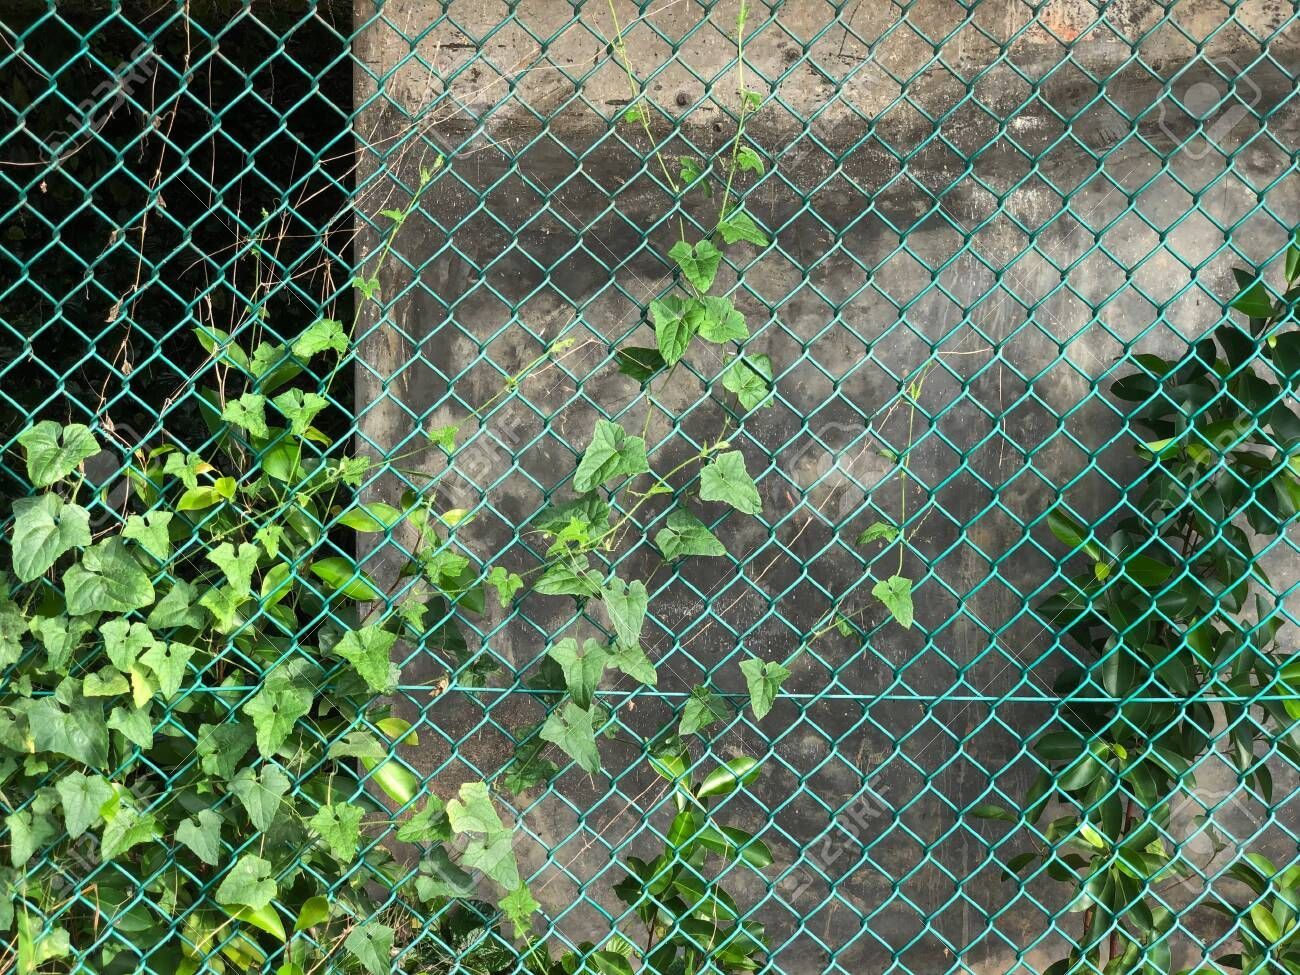
Chain link fences are a staple in many American yards, known for their durability and low cost. However, over time, elements like rust and weather damage can take their toll, leaving these fences looking less than ideal. The good news is that with a little DIY effort and the right tools, you can give your chain link fence a facelift, improving both its appearance and longevity.
Learn the efficient and homeowner-friendly approach to painting your chain link fence with a roller, transforming it from worn to wonderful while enhancing its resistance to weather.
Assessing Your Fence's Condition
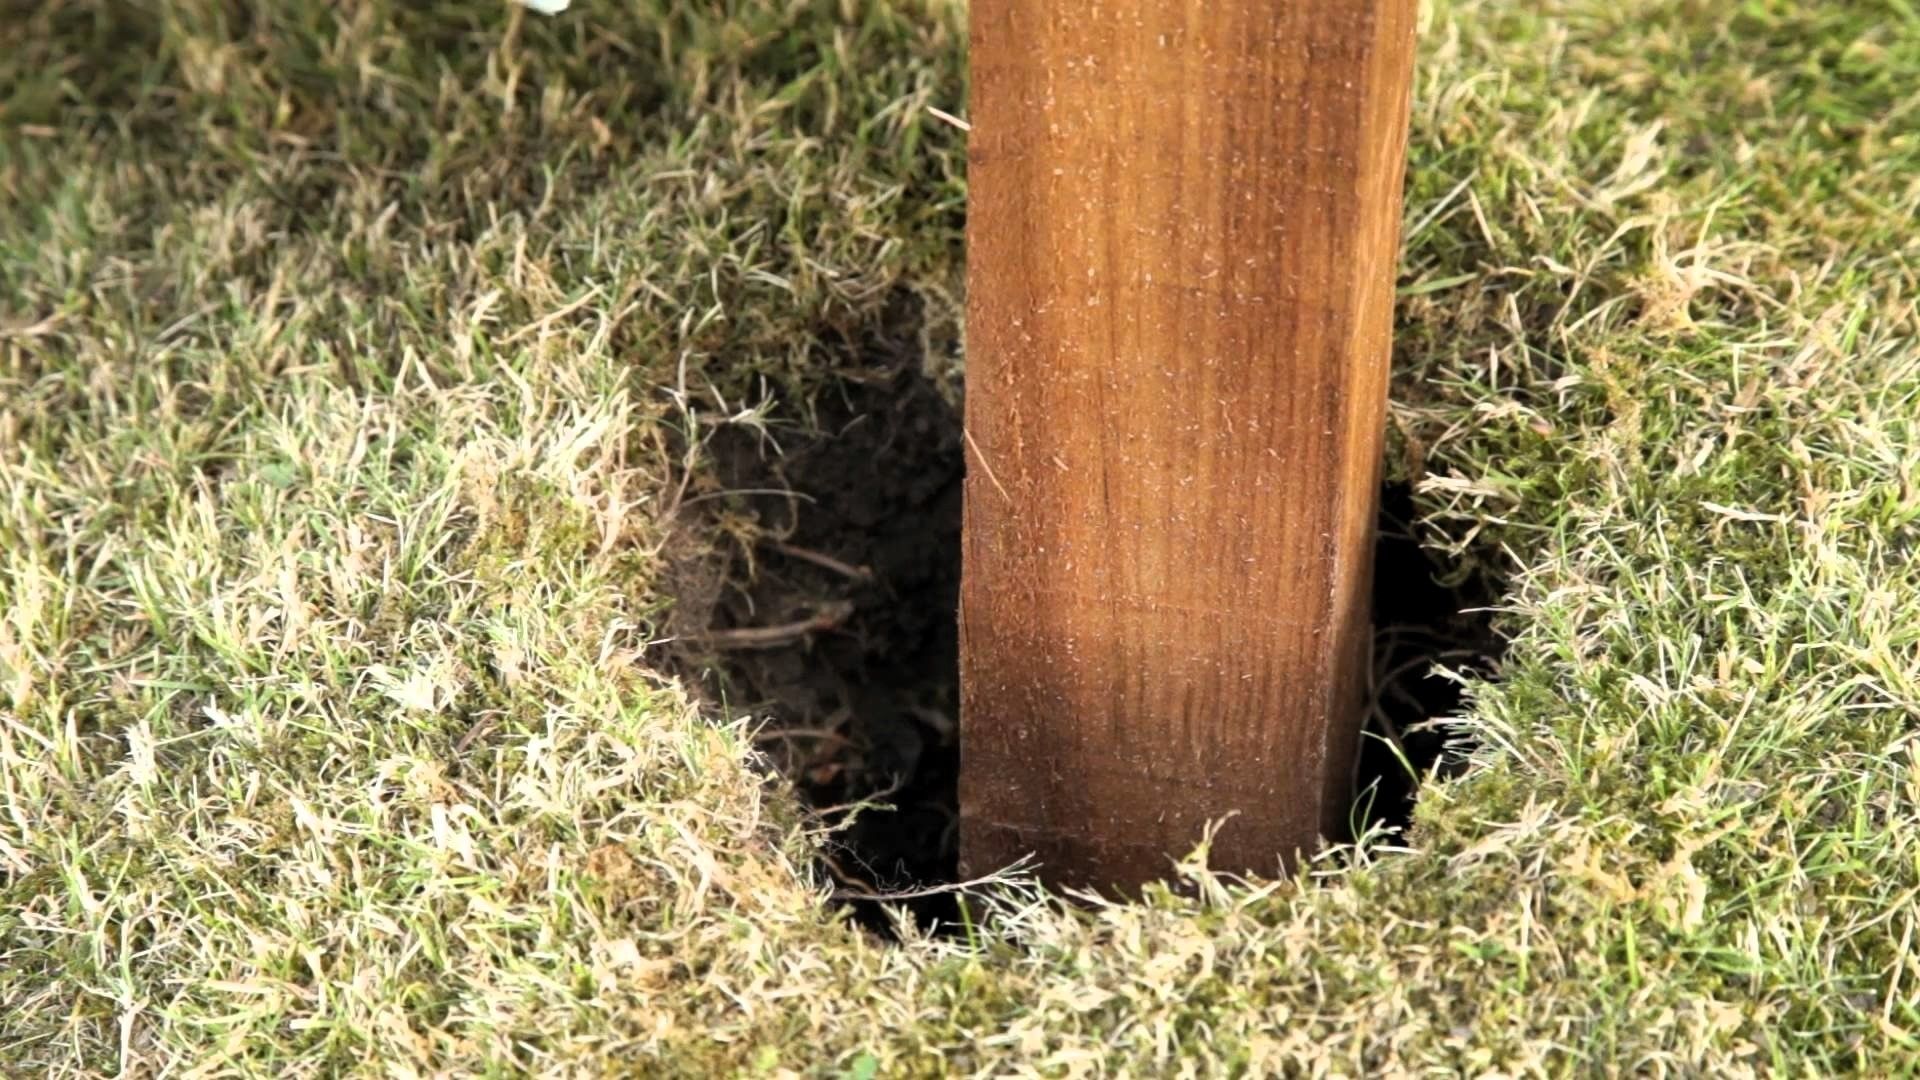
To ensure the best outcome for your painting project, begin with a comprehensive assessment of your fence's condition. Carefully inspect each section for signs of wear and tear such as rust patches, loose or wobbly posts, and any areas where previous paint might be peeling or chipping off. For fences that have been painted in the past, it's essential to remove old, flaking paint to create a smooth base for your new coat. Utilize a wire brush or a pressure washer for this task, paying special attention to areas with thick layers of old paint or significant rust accumulation. This step is crucial for both the aesthetic outcome and the longevity of your repainting work.
Why Paint Your Chain Link Fence?
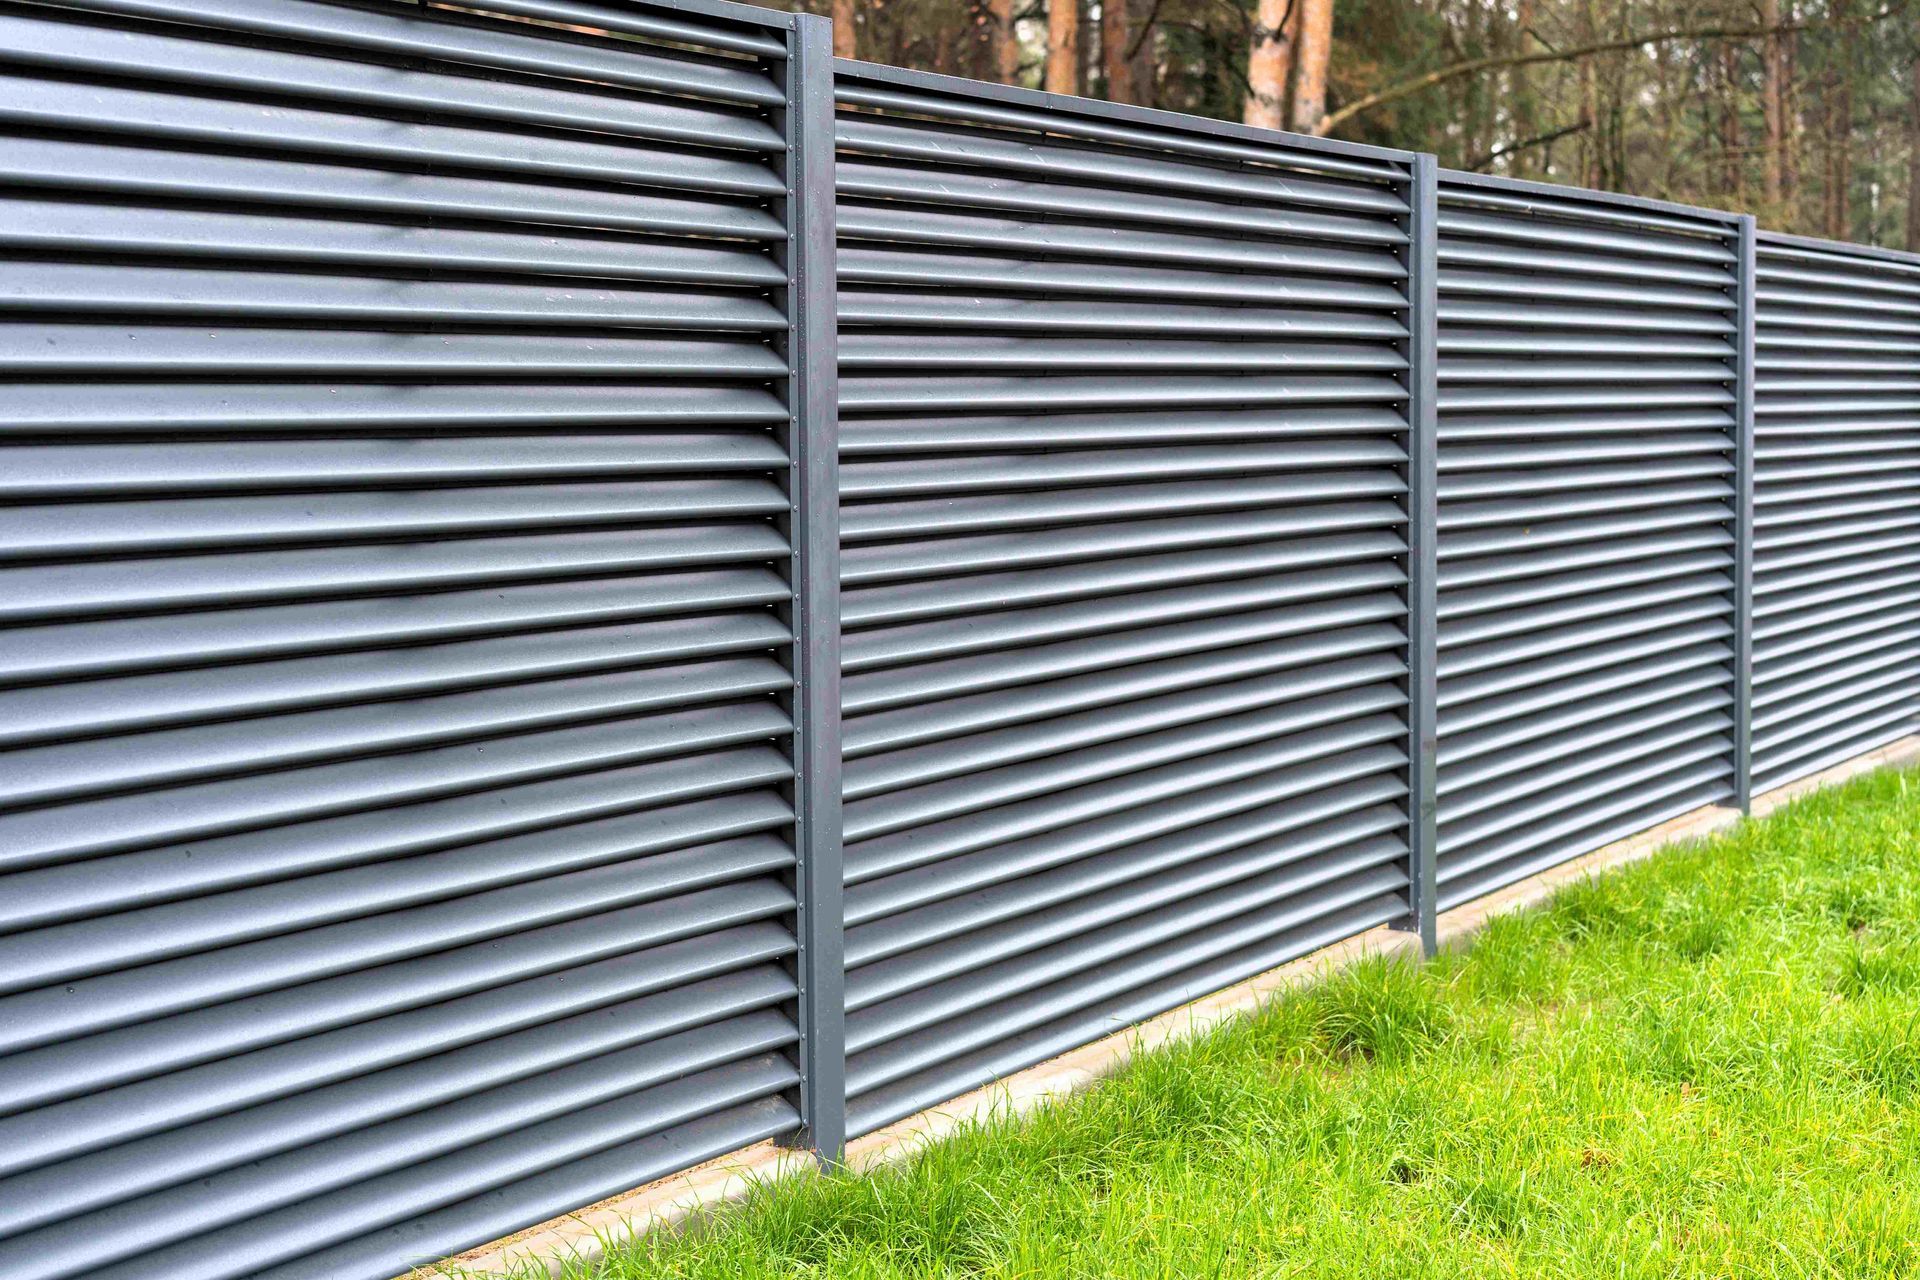
Painting your chain link fence can rejuvenate an older fence, improve your property's appearance, and increase its resistance to weather damage. Since chain link fences are typically made from galvanized steel, they are vulnerable to rust and corrosion from exposure to harsh weather conditions. A new paint job will not only refresh the fence’s look but also add an extra layer of protection against the elements.
Preparing Your Chain Link Fence for Painting
1. Clear the Area:
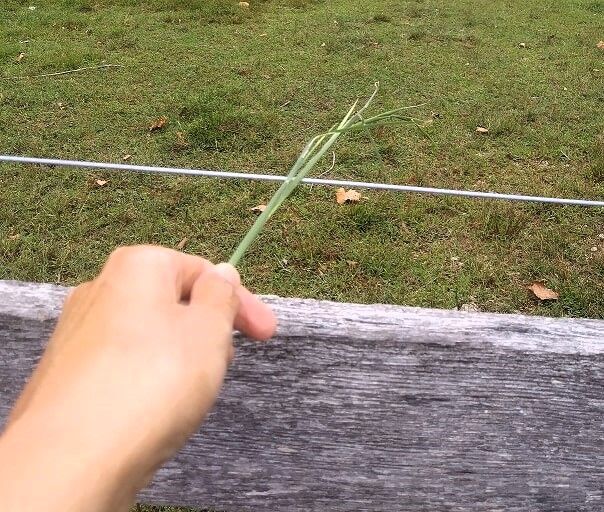
Before you begin painting, it’s crucial to clear any vegetation or obstacles around the fence. This includes cutting back any overgrown grass, bushes, or vines that might interfere with the painting process.
2. Protect Surrounding Plants and Structures:
If you have plants, garden features, or landscaping close to the fence, cover them with protective sheeting or tie them back to prevent damage from paint drips or overspray.
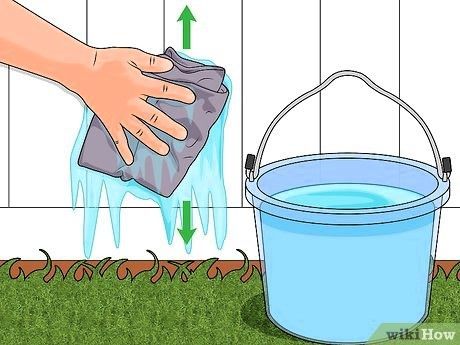
3. Clean the Fence Thoroughly:
A clean surface is key to ensuring the paint adheres properly. Use a pressure washer to remove dirt, grime, and peeling rust. For areas with significant rust buildup, manually scrub with a wire brush and apply a rust-inhibiting primer to those spots.
How to Paint a Chain Link Fence
Step 1: Apply a Metal-Specific Primer
Select a high-quality oil-based primer designed for metal surfaces. This primer will help the paint adhere better and provide a layer of rust protection. Using a roller, apply the primer evenly across the fence. For hard-to-reach areas or intricate parts of the mesh, use a handheld brush to ensure complete coverage.
Step 2: Painting the Fence
After the primer has dried, begin painting with a metal-specific paint that includes anti-rust properties. Place cardboard or a drop sheet under the working area to catch any drips. Start at the top of the fence and work your way down, applying the paint in even, vertical strokes. Ensure that each section is covered uniformly.
Step 3: Touch Up Any Missed Spots
Inspect the fence for any missed spots or uneven coverage, particularly near the ground and around the fence posts. Touch up these areas with a paintbrush or roller as needed.
Choosing the Right Tools and Materials
Selecting the appropriate tools and materials is pivotal for the success of your project. For painting chain link fences, professionals often recommend using long-nap rollers and wool rollers. These types of rollers are adept at navigating the fence's intricate patterns and textures, allowing for an even and comprehensive paint application. As for the paint itself, your choice should be guided by the current state of your fence. Acrylic paints are suitable for fences in relatively good condition, offering a clean and bright finish. For older, more weathered fences, alkyd-based paints provide a more resilient coating, capable of withstanding harsher outdoor elements.
The Painting Process
Initiate the painting process at the top of your fence, employing a roller for a uniform application. Proceed downwards, covering each section in smooth, steady strokes. This technique ensures that every part of the chain link, including difficult-to-reach areas, receives an even coat of paint. Be meticulous in covering both sides of the fence to maintain consistency in appearance. If you're using a roller, periodically reload it with paint to maintain a constant level of coverage and avoid patchiness. Work in sections to avoid missing any spots, and take breaks as needed to check for uniformity.
Finishing Touches and Cleanup
After completing the main painting job, inspect the fence for any missed spots or uneven areas. Use a galvanized spray paint for these touch-ups, as it offers excellent adhesion and durability. Once the paint has dried completely, embark on the cleanup process. Begin by cleaning your painting tools with the appropriate solvents - water for acrylic paints and mineral spirits for alkyd-based paints. Store your tools properly for future use. To maintain the fresh look of your fence, schedule regular maintenance. This includes an annual cleaning to remove dirt and potential mildew, along with spot touch-ups to address any wear or chipping that may occur over time.
Additional Painting Tips
- Choose the Right Paint Color:
Consider the overall aesthetic of your property when choosing a paint color. Classic black or green can blend seamlessly with outdoor environments, but ensure any bold colors comply with local HOA regulations. - Select Durable Paint:
Use an oil-based paint formulated for outdoor metal applications. These paints are typically more durable and contain additives like aluminum flakes that enhance the paint’s protective properties against weathering. - Invest in Quality Painting Tools:
For the best results, use high-quality brushes and rollers designed for exterior paint jobs. Long-nap rollers are particularly effective on chain link fences as they help cover the irregular surface more thoroughly. - Paint One Side at a Time:
To avoid smudging and ensure thorough coverage, tackle one side of the fence before moving to the other. This methodical approach helps maintain a clean working environment and ensures no spots are missed.
Conclusion
Painting your chain link fence is a straightforward and rewarding DIY project. Not only does it enhance the fence's appearance, but it also adds a layer of protection against the elements. With the right approach and tools, your fence can become a complement to your beautiful backyard.
FAQ Section
Is it better to spray or roll paint on a chain link fence?
While rolling paint is a more meticulous process, it offers precision and is ideal for smaller sections or touch-ups. For larger fences, spraying can be more efficient and provide quicker coverage, though it requires careful handling to avoid overspray.
How can I make my old chain link fence look new again?
Restoring an old chain link fence involves cleaning it, repairing any damage, and applying a fresh coat of paint. By following these steps, even the most weathered fence can regain its former glory.
What type of roller is best for painting a chain link fence?
For painting chain link fences, long-nap and wool rollers are preferred. Their design allows for better paint coverage on the uneven surface of the fence, ensuring a more uniform and effective application.
Can you use rustoleum on a chain link fence?
Yes, Rustoleum is a great option for chain link fences, especially for combating rust. It adheres well to metal surfaces and provides a durable, weather-resistant finish.
What is the best color for a chain link fence?
The best color for a chain link fence depends on your backyard’s style and your personal preference. Common choices include black for a sleek look or green to blend with the landscape.