How to Frame a Corrugated Metal Fence
Corrugated metal fences have gained immense popularity in both residential and commercial properties for their durability and aesthetic versatility. This guide, last updated on May 10, 2023, walks you through the process of framing a corrugated metal fence, ensuring both style and stability.
Framing a corrugated metal fence involves a systematic approach of installing sturdy posts, arranging metal panels, and ensuring structural integrity for a long-lasting and attractive boundary.
Understanding Corrugated Metal Fences
Corrugated metal fences, easily recognizable by their distinctive rippled metal sheets, are an excellent choice for those seeking both privacy and style. These fences are not just functional; they also add a unique aesthetic to any property. Available in a variety of designs, they can range from the classic rusted look that exudes a rustic charm, to sleek, modern painted finishes that suit a more contemporary setting. The versatility of corrugated metal makes it adaptable to different landscape aesthetics, whether it's a cozy suburban backyard or a larger commercial area.
Tools and Supplies for Corrugated Metal Fence Installation
To successfully complete this project, you will need specific tools and supplies that are essential for both the construction and ensuring the durability of your fence. The required tools include:
- Rubber Mallet: Used for securely inserting stakes without damaging them.
- Measuring Tape: Essential for precise measurements throughout the project.
- Shovel or Auger: For digging post holes. An auger is particularly useful for larger projects as it speeds up the process.
- Drill: Needed for assembling the frame and attaching the metal panels.
- Safety Goggles and Gloves: Safety equipment to protect against injuries from debris and during handling of the metal panels.
The supplies needed for this project are:
- Stakes and Marker Flags: To delineate the boundary of where the fence will be installed.
- String: To create a visual line for post placement and ensure alignment.
- Gravel: For drainage at the base of the posts to prevent water from pooling.
- Concrete or Expandable Foam: For securing the posts in the ground, ensuring they remain sturdy.
- Exterior-Rated Structural Screws and Flat-Head Exterior Screws: For assembling the frame and attaching the metal panels.
- Wood Fence Posts and Two-by-Four Pressure-Treated Wood Boards: For the frame structure.
- Corrugated Metal Panels: The primary material for the fence, chosen for its durability and aesthetic appeal.
Planning Your Corrugated Metal Fence
Permit Acquisition: Start by obtaining the necessary building permits from your local government. Costs typically range from $20 to $60. Permits are crucial to ensure that your fence meets local regulations regarding height and construction.
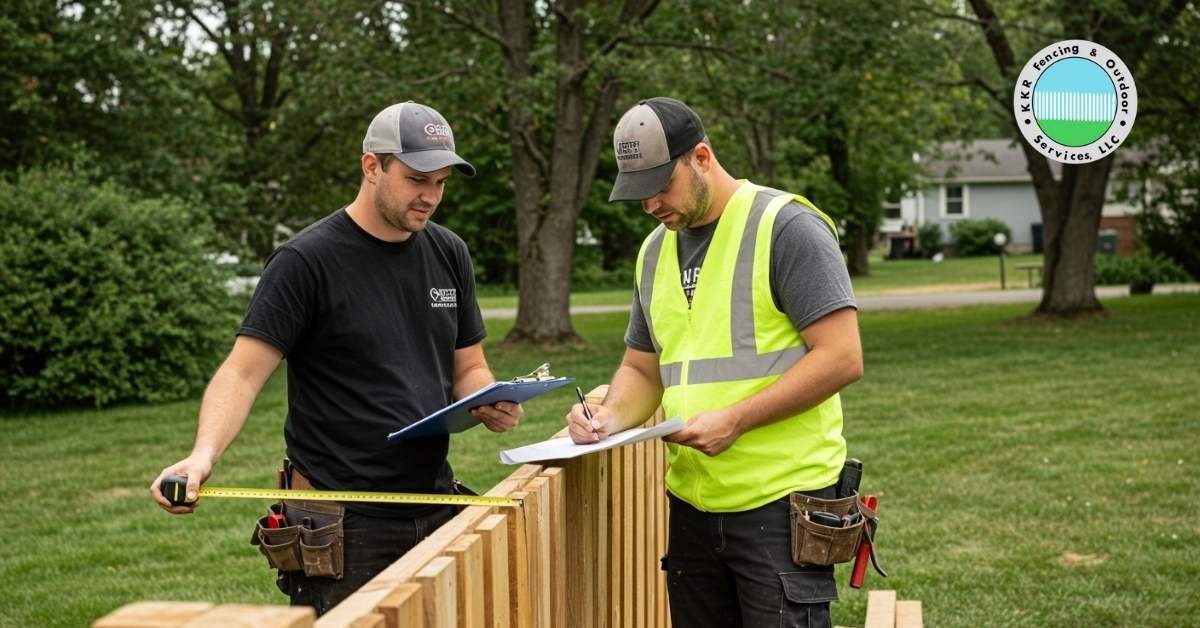
Measuring and Marking: Carefully measure the area where the fence will be erected. Use marker flags to outline the perimeter and determine the exact placement of each post, which will help in calculating the amount of materials needed.
Material Acquisition: Purchase all the materials required for your fence. It's advisable to buy an additional 10% more material than your measurements call for to cover any mistakes or misjudgments in material amounts needed.
Pre-Installation Steps
Utility Line Checks: It's imperative to identify and mark all utility lines before beginning excavation. Contact your local utility companies or call 811 to have the lines marked, ensuring you avoid any potential hazards.
Post Hole Preparation: Use stakes to mark the exact locations for the fence posts around the perimeter of your fence. The holes for these posts should be dug deep enough to bury one-third of the post's height, providing stability, and wide enough to fill with your chosen setting material.
Installation Process
Setting the Posts: Begin by placing a six-inch layer of gravel at the bottom of each hole for drainage. Set each post in the middle of its hole, check for vertical alignment using a level, and then fill the hole with concrete or foam. Allow the setting material to cure according to the manufacturer's instructions, typically at least four hours.
Installing Support Beams: Attach horizontal support beams between posts. Start with the lower beam and ensure it is level before securing it with screws. Repeat this for the middle and top beams to provide a solid frame for the metal panels.
Attaching Metal Panels: If predrilling, layout the metal panels and mark the locations for holes every four inches along the edges that will attach to the frame. Lift each panel into place, align it carefully, and secure it with screws. Ensure each panel is level and uniformly aligned with the others.
Finishing Touches
Once all panels are in place, walk around the fence to inspect every joint and connection. Make adjustments as needed to ensure all panels are securely fastened and the entire structure is stable.
DIY vs. Professional Installation
While the DIY route can be more cost-effective, it requires significant time and effort. For those unsure about their ability to erect a sturdy fence, or for larger projects, hiring a professional may be a better option. Professional installers can ensure that the fence is installed quickly and correctly, providing peace of mind but at a higher cost. This cost typically includes labor and may also cover the rental of any specialized equipment.
Design Ideas for Corrugated Metal Fences
The realm of design possibilities with corrugated metal fences is vast and inspiring. For those inclined towards a traditional look, classic rusted panels provide a timeless rustic appeal. On the other end of the spectrum, contemporary designs often feature painted ribbed panels that offer a clean, modern look. Beyond these, there's room for creativity, such as integrating wood slats for a warmer, textured appearance or incorporating translucent panels for a touch of elegance and light. These design variations allow homeowners and commercial property owners to create a fence that not only secures their property but also complements and enhances its overall appearance.
Essentials of Framing Corrugated Metal Fences
The foundation of a durable and visually pleasing corrugated metal fence lies in its framing. This process begins with the installation of robust fence posts, which should be anchored firmly into the ground using gravel for drainage and quick-setting cement for stability. The arrangement of corrugated metal panels plays a pivotal role in the fence's final appearance. Panels can be oriented vertically for a traditional fence look or horizontally for a more contemporary style. Each panel requires precise drilling for secure attachment to the fence posts, ensuring the fence’s longevity and stability against various weather conditions.
Installing Corrugated Metal Panels
Attaching corrugated metal panels is a critical phase in fence construction. This step demands meticulous attention to detail to ensure that each panel is perfectly aligned and securely fastened to the frame. Proper installation is key to achieving both the desired aesthetic effect and the structural integrity of the fence. This process involves measuring, cutting (if necessary), and fastening the panels in place, taking care to maintain uniformity and alignment throughout the fence structure.
Advanced Techniques and Tools
Innovative systems like FenceTrac are revolutionizing the way corrugated metal fences are designed and constructed. These metal fence frame kits are designed for both ease of installation and aesthetic appeal. The FenceTrac system, for instance, provides a streamlined and modern framework that complements the corrugated metal panels. Such systems not only bolster the strength of the fence but also offer a refined and neat appearance, elevating the overall look of the property. They provide an excellent solution for those seeking a balance between cutting-edge design and functional robustness in their fencing.
Conclusion
Creating a well-framed corrugated metal fence is an excellent way to combine functionality with design flair. This guide encourages both DIY enthusiasts and professionals to embrace creativity while ensuring the fence’s durability and stability.
FAQ Section
Is a corrugated metal fence cheaper than wood?
Corrugated metal fences are often more cost-effective than wood fences, with prices ranging between $15-$30 per linear foot, compared to wood fences which typically cost $25-$50 per linear foot. The initial lower cost of corrugated metal is complemented by its lower maintenance requirements, as wood fences often need periodic treatments to prevent decay and termite damage, thereby increasing their overall cost over time.
How do you attach corrugated metal to a chain link fence?
To securely attach corrugated metal panels to a chain link fence, utilize fence brackets specifically designed for this purpose. These brackets, typically U-shaped, are engineered to snugly fit over the chain link's framework. The panels are then affixed to these brackets using suitable hardware such as bolts or screws, ensuring a stable and durable attachment. This method effectively transforms a chain link fence into a more private and aesthetically pleasing barrier.
How do you attach metal fence panels to wood posts?
Metal fence panels can be securely attached to wood posts by using brackets that are specifically designed for this junction. These brackets come with pre-drilled holes that align with standard metal panel profiles, ensuring a straightforward installation. Secure the brackets to the wood posts using strong outdoor-rated screws. Once the brackets are in place, the metal panels can be mounted and fastened into the brackets, providing a robust and enduring connection.
How long will a corrugated metal fence last?
A corrugated metal fence's lifespan is influenced by several factors, including the quality of the metal, the protective coatings applied, and the local climate. Generally, these fences can last several decades—often 30 to 50 years. Their longevity stems from metal's resistance to rot, pests, and fire, coupled with resilience against environmental conditions like wind and rain when properly treated with anti-rust and UV-protective coatings.
What are the disadvantages of a metal fence?
While metal fences offer durability and low maintenance, they have a few drawbacks. One major disadvantage is their susceptibility to rust, especially if the protective coatings are compromised. Without regular maintenance to treat or prevent rust, the integrity of the fence can deteriorate. Additionally, metal fences can be noisy, particularly in windy conditions or during rainfall, as the impact of weather can cause the panels to rattle or clang. This noise factor might be a consideration for environments seeking a quieter, more serene setting.
For reliable fencing services in New York, visit KKR Fencing NY.
If you’re looking to enhance your website’s SEO, connect with our partners at Pro Growe.
